We all know the amazing, soothing, relaxing benefits of a HOT BATH at the end of the day…
But add some Epsom salts for muscle relaxation and a few drops of essential oils to soothe those achy muscles and you will be swooning for sure! Here’s my EASY-PEASY recipe that I make weekly!!! I am sure you will never take a bath the same way again!
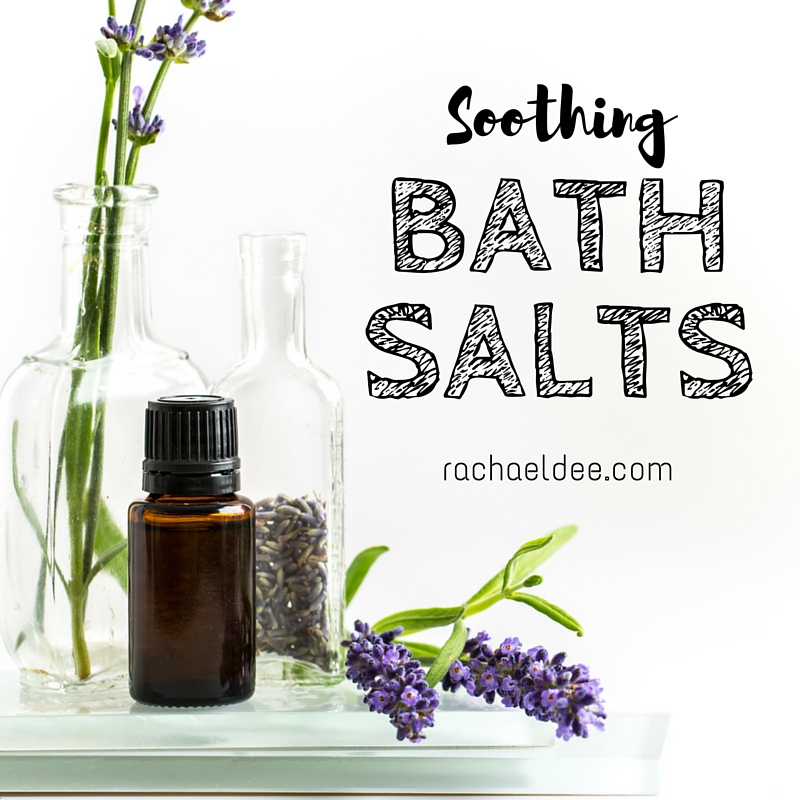
Soothe Your Stress Away-
Rosemary Lavender Moisturizing Bath Salt
What you need:
3 cups Epsom salts (to soothe muscles)
2 cups sea salt
1 cup baking soda (to soften skin)
5–10 drops Rosemary & Lavender essential oil
Purple soap coloring (optional)
Mixing bowl and spoon
Directions:
-Mix together Epsom salt and sea salt, breaking apart any clumps with spoon. I prefer using a whisk to mix thoroughly.
-Gradually add essential oils, mixing thoroughly. Depending on the intensity you prefer, feel free to add an additional 5-10 drops.
-Add coloring until you’ve reached your desired color level, making sure to mix well
-Stir in baking soda; continue mixing.
-Add mixture to mason jars and keep stored in your bathroom for easy access.
-Add about a cup to running water for a nice, relaxing soak.
Some of my favorite combinations are Lavender and Wild Orange, Frankincense and Cedarwood, Protective Blend for immune support and Respiratory blend for those seasonal threats!
Your options are endless! Have fun and GET RELAXED!!!
I am THAT girl.
I seriously CANNOT live without lip balm.
Come on over to my house and you will find tubes in EVERY room of the house!!
So I thought to myself… HECK… I can make this stuff, right!!?
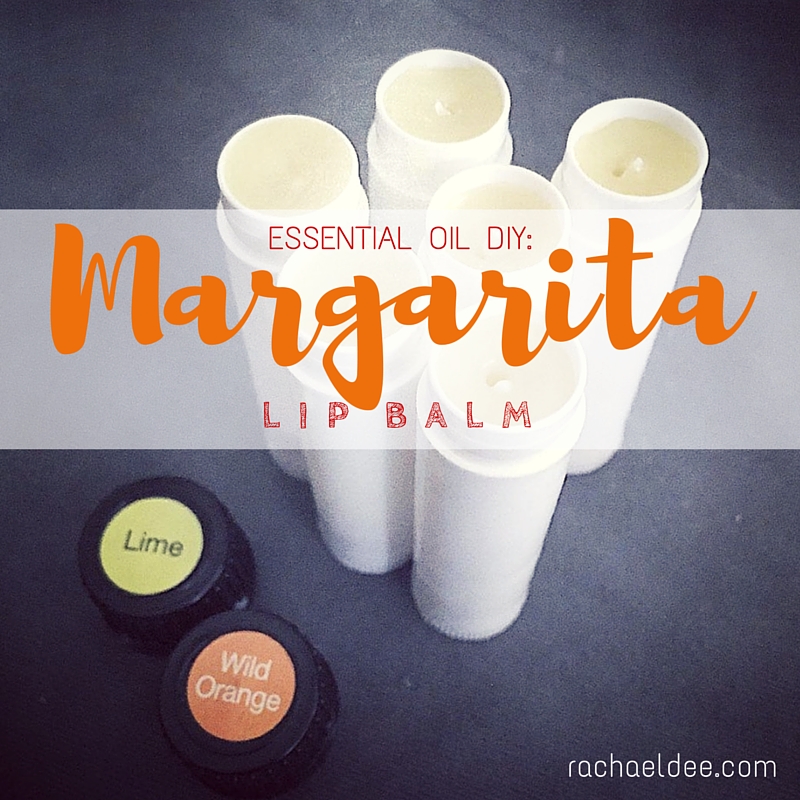
RIGHT!!!!! Mmmmmm… Lets make one that tastes like a MARGARITA!!!!!!!!!!
BRILLIANT.
With the plethora of essential oil combinations, you can go cray cray over this! I have also seen some people add mica powder to make it tinted, so if that’s your thing, GO FOR IT!
Its fun and EASY and great for gifts 🙂
I ordered some of the ingredients off Amazon and have TONS of the coconut oil and butters left over for other projects. Need your own pure, therapeutic grade essential oils?? Drop me a line HERE!
PLUS you can get super creative with what you store it in. I have these cute little white tubes PLUS some metal tins and tiny plastic jars. TOTES ADORBS!!! Why is everything cuter when its small?? Swooooooon!
OK, here you go! Have fun and make sure to post your comments and pictures below of how YOU made your super awesome lip balm!!!
INGREDIENTS:
1 ounce Beeswax Pellets (around 3 tbsp)
1 ounce Coconut oil (around 2 tbsp)
1/2 ounce Shea butter (around 1 tbsp)
1/2 ounce Cocoa butter (around 1 tbsp)
20 drops Wild Orange essential oil
20 drops Lime essential oil
Large skillet/saucepan with water
Glass jar Scale & Lip balm containers
DIRECTIONS:
-Measure beeswax, butters & coconut oil in glass mason jar. For this recipe I had a block of beeswax on hand and would HIGHLY suggest getting the PELLETS. Trust me, trying to shave that off the block or grate it is a beast. Save yourself the time and trouble… Unless you want a killer arm workout! HA!
-Fill a large skillet/saucepan with 2 inches of boiling water & add the glass jar to the center of the saucepan. I found it easiest to use a mason jar that is designated for your DIY projects. When the melted product dries, it’s nearly impossible to get it off, so use something that you aren’t worried about ruining.
-Melt & combine ingredients. At this point DO NOT put essential oils in. Just the butters etc. Reason being is that the heat will destroy the therapeutic benefits of the oils and we don’t want that now do we!? NOPE!
-Stir all ingredients until melted & combined. It takes about 10-15 minutes depending on your type of beeswax.
-Once melted, remove from heat and let sit for 3 minutes then adding the essential oils. Keep an eye on the time so that your mixture doesn’t harden. If it does, just place it back on the burner and let it liquefy again.
-Pour mixture into your lip balm containers. If you are using the tubes, you can cut holes in a box and have them set upright. We found this easiest to pour and have them not knock over. It’s okay if you spill, wax easily comes off plastic & counter-tops.
-Let cool for about an hour or so and you are all done! Add cute little labels if you want or decorate with a sharpie. The possibilities are endless.
I hope you enjoyed this DIY as much as I did! This recipe made about 12 tubes of lip balm and its by far my favorite to use! The consistency is SO emollient and luxurious. We played around with the oil amounts a bit and found that if it’s not quite the strength you want, you can add a drop or two more while they are in the tubes cooling. You can also add more beeswax if you want it a bit firmer. Choice is yours so get creative!
Is your skin SUPER dry as we transition out of winter and into SPRING!?
Boy oh boy is MINE! I feel like I am shedding a winter coat over here!!!
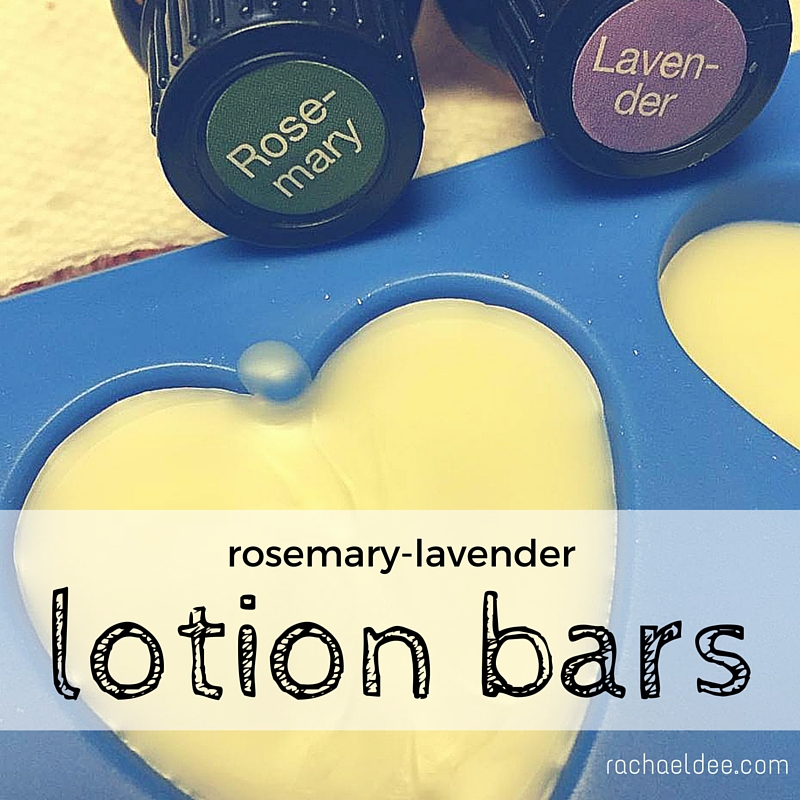
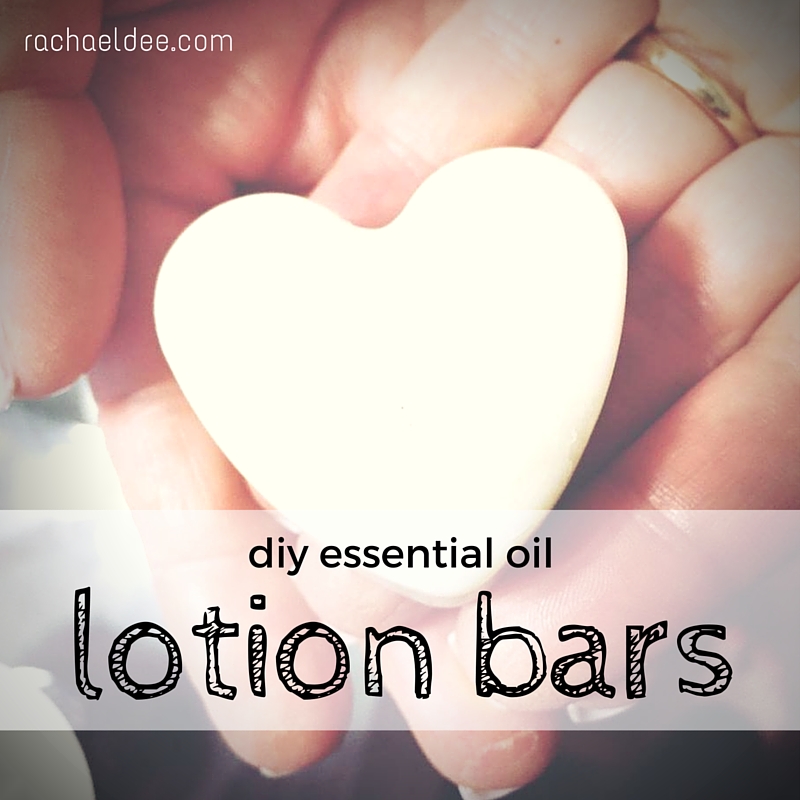
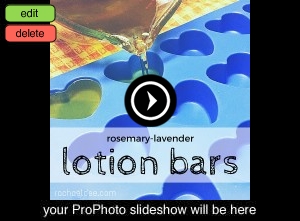
LOTION BARS TO THE RESCUE!!!
These were SO fun to make, super luxurious PLUS many of these ingredients are GREAT for other recipes like my Margarita Lip Balm and Whipped Body Butter!!!
RECIPE:
1 cup Organic Coconut Oil
1 cup Shea, Cocoa or Mango butter (or a mix of all three)
1 cup beeswax (pellets work the BEST! Trust me on this one)
Optional: 1 teaspoon Vitamin E oil I got most of these off Amazon for a great price!! Read the reviews and try to get Organic if you can!
DIRECTIONS:
–Combine ingredients (other than oils) in a med-large size mason jar. Place jar in 1 inch of boiling water.Any glass jar will do, just make sure its something you set aside for these projects. Once the residue dries on the glass, it’s a beast to get off!
–Stir ingredients consistently until smooth.We found that the pellets melt faster than the beeswax blocks. We even tried grating it but that stuff is TOUGH! Not impossible but the pellets will save you tons of time!
–Remove from heat then add essential oils.Note to self: If this mixture is too hot it will actually destroy the potency and therapeutic benefits of the oils. Try and wait a few minutes for it to cool before adding them. But be careful not to let the mixture start to harden! If that happens, place it back on the burner (with the water) and let it heat up again.
–Carefully pour into molds and allow to cool completely for an hour or so before removing. I prefer to use these silicone molds as it is easier to pop them out! SO many fun, cute shapes you can find at any local craft store! You can also use cupcake liners or individual metal tins that turn out ADORABLE! The sky’s the limit!
I hope you have as much fun as I did whipping up these ADORABLE bars!
They make perfect gifts for bridal showers, birthdays, Christmas gifts or JUST BECAUSE!
Have fun combining different oils for different application methods! The possibilities are endless and these little babies keep for a LONG time!
Wrap them in cellophane bags or tissue paper if you are giving them as a gift! Or you could store them in your bathroom in a cute glass jar!
Make sure to comment below with your favorite essential oil combination and add a picture if you have it!
If you haven’t joined the conversation over at Facebook, let’s be besties STAT!
")

")