I am THAT girl.
I seriously CANNOT live without lip balm.
Come on over to my house and you will find tubes in EVERY room of the house!!
So I thought to myself… HECK… I can make this stuff, right!!?
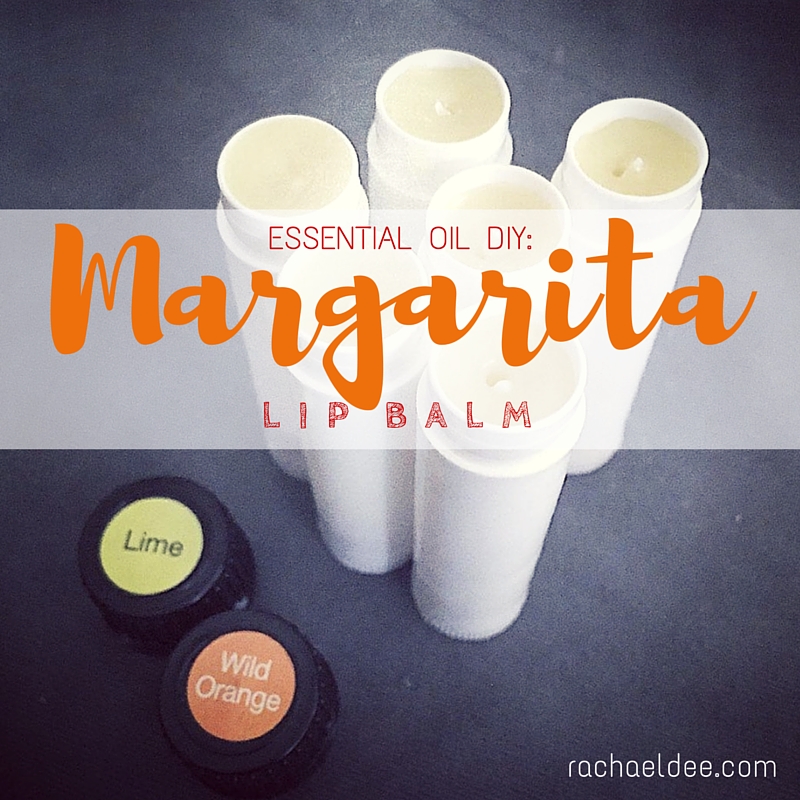
RIGHT!!!!! Mmmmmm… Lets make one that tastes like a MARGARITA!!!!!!!!!!
BRILLIANT.
With the plethora of essential oil combinations, you can go cray cray over this! I have also seen some people add mica powder to make it tinted, so if that’s your thing, GO FOR IT!
Its fun and EASY and great for gifts 🙂
I ordered some of the ingredients off Amazon and have TONS of the coconut oil and butters left over for other projects. Need your own pure, therapeutic grade essential oils?? Drop me a line HERE!
PLUS you can get super creative with what you store it in. I have these cute little white tubes PLUS some metal tins and tiny plastic jars. TOTES ADORBS!!! Why is everything cuter when its small?? Swooooooon!
OK, here you go! Have fun and make sure to post your comments and pictures below of how YOU made your super awesome lip balm!!!
INGREDIENTS:
1 ounce Beeswax Pellets (around 3 tbsp)
1 ounce Coconut oil (around 2 tbsp)
1/2 ounce Shea butter (around 1 tbsp)
1/2 ounce Cocoa butter (around 1 tbsp)
20 drops Wild Orange essential oil
20 drops Lime essential oil
Large skillet/saucepan with water
Glass jar Scale & Lip balm containers
DIRECTIONS:
-Measure beeswax, butters & coconut oil in glass mason jar. For this recipe I had a block of beeswax on hand and would HIGHLY suggest getting the PELLETS. Trust me, trying to shave that off the block or grate it is a beast. Save yourself the time and trouble… Unless you want a killer arm workout! HA!
-Fill a large skillet/saucepan with 2 inches of boiling water & add the glass jar to the center of the saucepan. I found it easiest to use a mason jar that is designated for your DIY projects. When the melted product dries, it’s nearly impossible to get it off, so use something that you aren’t worried about ruining.
-Melt & combine ingredients. At this point DO NOT put essential oils in. Just the butters etc. Reason being is that the heat will destroy the therapeutic benefits of the oils and we don’t want that now do we!? NOPE!
-Stir all ingredients until melted & combined. It takes about 10-15 minutes depending on your type of beeswax.
-Once melted, remove from heat and let sit for 3 minutes then adding the essential oils. Keep an eye on the time so that your mixture doesn’t harden. If it does, just place it back on the burner and let it liquefy again.
-Pour mixture into your lip balm containers. If you are using the tubes, you can cut holes in a box and have them set upright. We found this easiest to pour and have them not knock over. It’s okay if you spill, wax easily comes off plastic & counter-tops.
-Let cool for about an hour or so and you are all done! Add cute little labels if you want or decorate with a sharpie. The possibilities are endless.
I hope you enjoyed this DIY as much as I did! This recipe made about 12 tubes of lip balm and its by far my favorite to use! The consistency is SO emollient and luxurious. We played around with the oil amounts a bit and found that if it’s not quite the strength you want, you can add a drop or two more while they are in the tubes cooling. You can also add more beeswax if you want it a bit firmer. Choice is yours so get creative!
But isn’t lemonade bitter?
I think I needed something a little sweeter…
After a DIFFICULT 7 weeks, with a variety of personal challenges and struggles, we were at a point where we HAD to get away. For our hearts… our sanity… and our marriage.
Gifted with a beautiful nights stay at a resort in Hilton Head Islands, we packed the bags and hit the road Friday night.
OH. MY. GOODNESS.
My heart and soul are SO refreshed!
RESORT:Sonesta Hilton Head love love loved this resort! It had amazing service, wonderful grounds and fantastic amenities! We enjoyed their gorgeous pool (with bar service), lovely poolside dining for lunch, private white sand beaches and loooooovely room. The bed was SO plush and the room included a balcony (score!). Though we weren’t there long, we want to plan another trip there soon. The drive in alone was breathtaking!
DINNER: The Chart House we were craving delicious seafood and decided a splurge at this waterfront restaurant was in order. It surely did not disappoint! What I loved most is that they were very accommodating to my need to eat gluten free and ensured that there was no cross contamination. HUGE WIN!
We ordered the Shrimp, Crab, Avocado & Mango Stack for an appetizer and it was so light and refreshing. For my entrée I chose the Bronzed Mahi Mahi: sweet & spicy seared fish, topped with lump crab, tomatoes, shallot butter and Yukon gold garlic mashed potatoes. OH MY SWOON! Justin decided on the Peach-Bourbon Glazed Scallops & Shrimp: skillet fried corn with bacon with asparagus, red grape tomatoes & roasted red peppers. So delicious and savory. For dessert we chose our favorite Creme Brule and it was perfect! Paired with a Korbel Brut for me and a Blue Moon for him, we were happy as a clam!
Hilton Head was so gorgeous and I know that next time we will be able to take the time to explore more of the island. For a spontaneous, gifted weekend away, these Atlanta residents were LOVING that little slice of paradise!
Have you adventured there in your travels!? Comment below with where you went and your favorite parts!
So when I heard about this AMAZINGLY EASY recipe, I knew it would be a winner in my book!
Who doesn’t looooooooooove wonderful smelling laundry!??
And with ALL the combinations of essential oils you could try, you can smell fresh and clean ALL the time!
Have an oops moment and leave your clothes in the washer for too long?
Add a bit more of this mixture in the wash and voila!!!
Musty smell is gone for good!
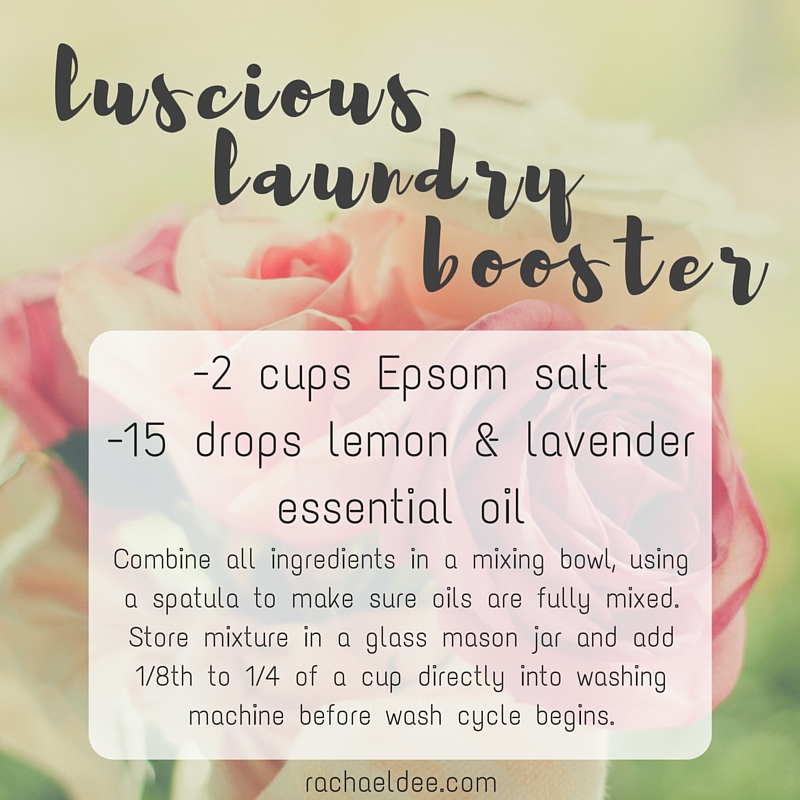
-Combine all ingredients in a mixing bowl. Use a spatula or wire whisk to make sure oils are fully mixed.
-Store mixture in a glass mason jar and add 1/8th to 1/4 of a cup directly into washing machine before wash cycle begins.
-Double or triple recipe and store in a large glass container in laundry room. Place a handled scoop inside for easy access.
I hope you enjoy this recipe as much as I do!
Comment below with your FAVE essential oil laundry combo!
I am HORRIBLE at completing CERTAIN tasks on time. Other things I loooooove doing? I can’t run fast enough towards them!
Tasks like TAXES. Or expense reports. Or laundry… Anyone else out there??
Today is the blessed (or dreaded) TAX DAY and though I FINALLY got ours done last night, I could have saved a BUNCH of time, stress and emotional haywire had I stayed on top of it as I went. uuuuugggghh.
I was thinking about this last night and realized there are a few EASY things anyone can do to stop procrastinating… so I thought I would yell at MYSELF and see if anyone else related! You too? GREAT!
Here we go!
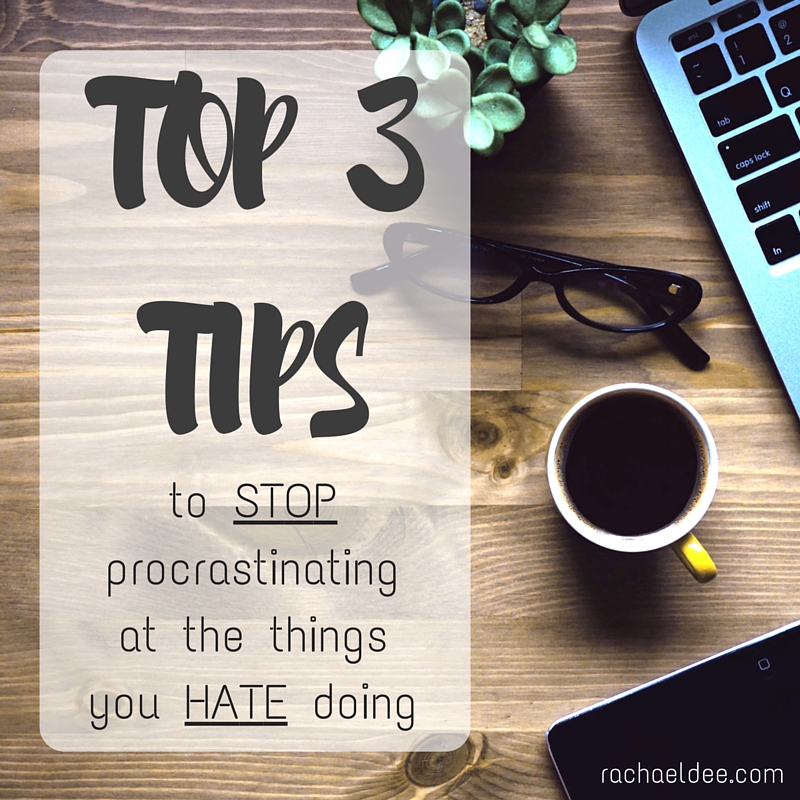
TIP #1: GET ORGANIZED
Well duh.
But are you doing it? Like REALLY doing it? Lets take the simplicity of laundry for example.
It HAS to be done and for most people with kids, it needs to be done DAILY. Double uuuuggghh.
So instead of putting it off in hopes of the laundry fairy coming and sweeping it all away, get a system in place!
“Those who fail to plan, plan to fail.”
Wise words from Ben Franklin and they really make an impact! If you know you need to do a certain number of loads a week and you get super overwhelmed doing them ALL at once (OMG punch me now) try breaking it down into more reasonable and manageable goals.
Wake up and put a load in. After lunch put it in the dryer. Kids down for their nap? FOLD JUST 1 LOAD.
Then tomorrow do the same thing or every other day if it’s just you and the hubs.
Doesn’t that just FEEL better? Instead of having a pile of 4-5 loads of laundry, you stay organized, integrate it into your schedule and get it done more consistently. Talk about keeping your stress level (and lack of piles of laundry) low! WIN.
TIP #2: MAKE IT PRETTY/FUN/ENJOYABLE
OMG. If it’s not pretty or creative or somewhat enjoyable I run as fast as I can the other way. YUCK.
For my 2016 taxes I am going to try something new this year to help keep me a bit more on top of things. First I am going to get some really pretty files.
Insert the wonderland of TARGET…
Target has some gorgeous files that I have seen rotating in their dollar section (omg why is this section so magical!?!) and I looooooove the itty bitty prices! Recently they have had some adorable home office items that make some of the mundane tasks preeetttyyyyyyy.
Why pretty? Sound a little silly to you? Well to be honest, keeping record of all my expenses for the month isn’t exactly my idea of FUN. Buuuuuuut if when I have to pull it all out and I have something lovely to look at, it sparks that tiny sense of joy, I feel like I can pummel through! Try integrating things like labels, stickers, washi tape and color coding to make it enjoyable! Mmmmmm washi tape.
ALSO- Get an app on your phone that you LIKE and will USE that has an easy interface. Ok this isn’t exactly pretty, but make it enjoyable. Read reviews and find something that fits YOUR needs and is actually a bit fun to use! If you don’t despise doing the work, you will be less likely to procrastinate. These types of simple changes, though small, will make an impact of consistency over time and get your habits straight!
TIP #3: PUT IT IN YOUR SCHEDULE
I touched on this earlier, but if you don’t plan to do it, you will ALWAYS find an excuse to put it off till later.
My husband and I decided that Thursday afternoons will be when we BOTH work on our expense reports. Not only are we accountable TOGETHER but the weekly consistency helps us to stay on track and not have HOURS to do in one given time slot. Instead we spend 30-90 minutes a week. That seems SO doable when you look at it that way! Some weeks will be super easy and others a bit more time-consuming BUT it’s blocked out int he schedule, just like a meeting would be for work.
This also helps you to remember out of the ordinary situations that crept up. Keeping a schedule with thing you HATE doing will help you to not avoid it and embrace the simplicity of the task at hand. Less stress and a little more peace in the heart? YES PLEASE!!!
So there are my TOP 3 tips to kick procrastinating in the BUTT!
What are some ways that YOU have found helpful to stop procrastinating?
Post a comment below with your FAVORITE tips and tricks!
If you haven’t joined the conversation over at FACEBOOK, make sure to drop me a note hello!
Lets kick procrastination in the face ONE DAY AT A TIME!
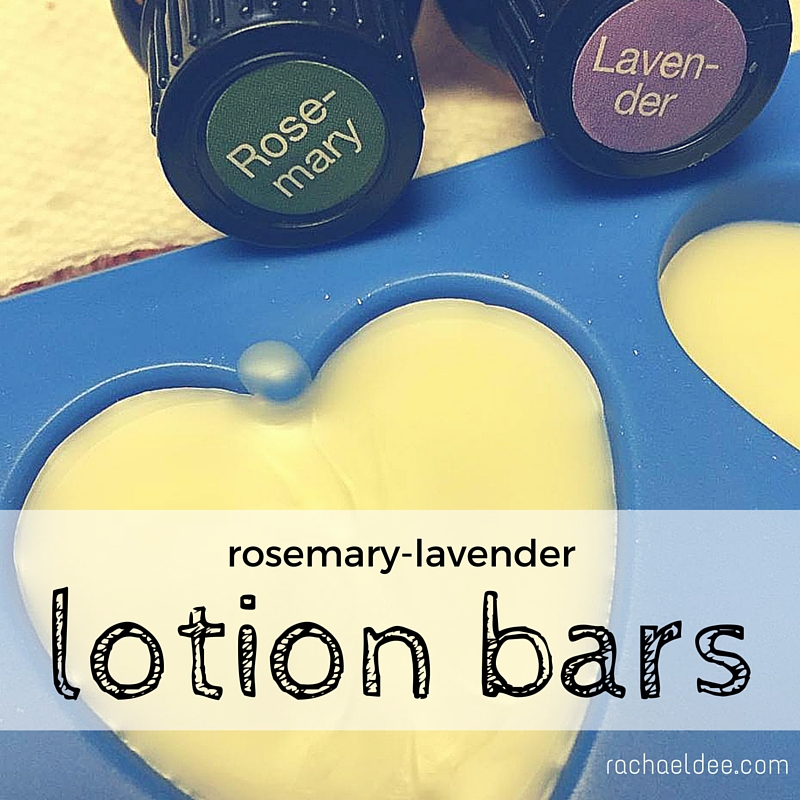
Is your skin SUPER dry as we transition out of winter and into SPRING!?
Boy oh boy is MINE! I feel like I am shedding a winter coat over here!!!
LOTION BARS TO THE RESCUE!!!
These were SO fun to make, super luxurious PLUS many of these ingredients are GREAT for other recipes like my Margarita Lip Balm and Whipped Body Butter!!!
RECIPE:
1 cup Organic Coconut Oil
1 cup Shea, Cocoa or Mango butter (or a mix of all three)
1 cup beeswax (pellets work the BEST! Trust me on this one)
Optional: 1 teaspoon Vitamin E oil I got most of these off Amazon for a great price!! Read the reviews and try to get Organic if you can!
DIRECTIONS:
–Combine ingredients (other than oils) in a med-large size mason jar. Place jar in 1 inch of boiling water.Any glass jar will do, just make sure its something you set aside for these projects. Once the residue dries on the glass, it’s a beast to get off!
–Stir ingredients consistently until smooth.We found that the pellets melt faster than the beeswax blocks. We even tried grating it but that stuff is TOUGH! Not impossible but the pellets will save you tons of time!
–Remove from heat then add essential oils.Note to self: If this mixture is too hot it will actually destroy the potency and therapeutic benefits of the oils. Try and wait a few minutes for it to cool before adding them. But be careful not to let the mixture start to harden! If that happens, place it back on the burner (with the water) and let it heat up again.
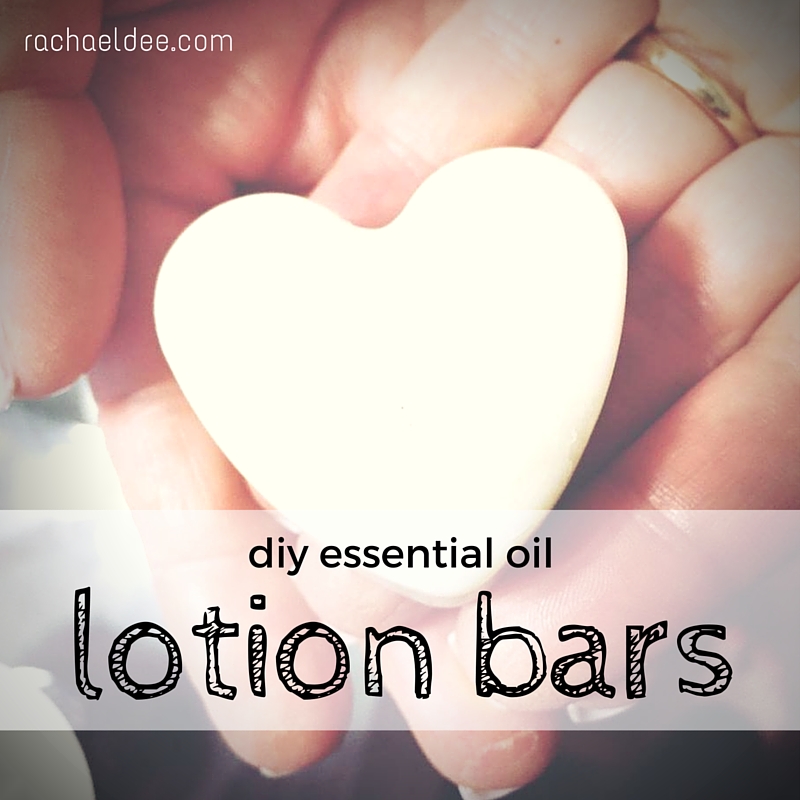
–Carefully pour into molds and allow to cool completely for an hour or so before removing. I prefer to use these silicone molds as it is easier to pop them out! SO many fun, cute shapes you can find at any local craft store! You can also use cupcake liners or individual metal tins that turn out ADORABLE! The sky’s the limit!
I hope you have as much fun as I did whipping up these ADORABLE bars!
They make perfect gifts for bridal showers, birthdays, Christmas gifts or JUST BECAUSE!
Have fun combining different oils for different application methods! The possibilities are endless and these little babies keep for a LONG time!
Wrap them in cellophane bags or tissue paper if you are giving them as a gift! Or you could store them in your bathroom in a cute glass jar!
Make sure to comment below with your favorite essential oil combination and add a picture if you have it!
If you haven’t joined the conversation over at Facebook, let’s be besties STAT!


")